WHEELS
To keep it simple I put wheels into two categories: Solid ones with wooden spokes and those with pneumatic tyres. There are of course considerable variations in both categories.
I will start with pneumatics because they were on the first model that I made from the MFD plans. I simply bought a set of four wheels the right size from a Model Aircraft shop. I used them exactly as they were except for the addition of a set of hubcaps. At the time, I thought that they looked OK but to be honest, I didn’t really know what the real size ones should be like. It is one of those things that I look at from time to time and think, I must change them for something better but never find the time to actually do it. The hubcaps look fine when I polish them up as they are made from solid silver dome shaped earrings.
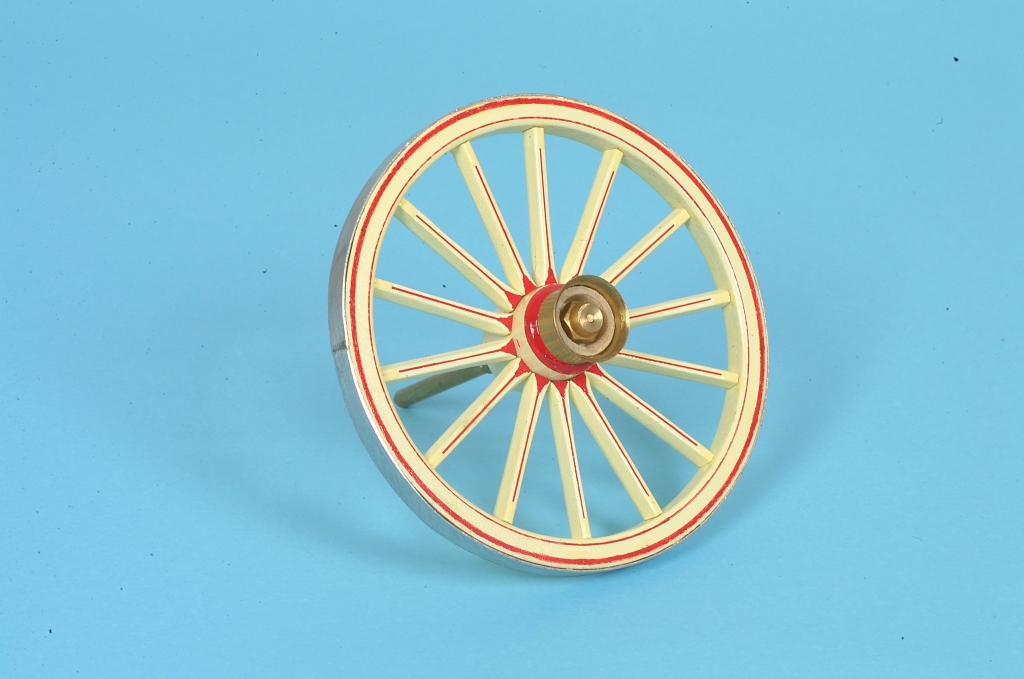
 The next set of pneumatics was for the Eccles “fortune tellers wagon”. After a lot of searching Toy and Model shops, I eventually found something suitable in a model aircraft shop. They were the correct diameter and had very nice treads on them but the tyres were much too balloon like in appearance and the actual wheels were nothing like the ones on the Eccles. I thought that I could cast some new centres from two-part resin to match the real ones and at the same time get them to hide part of the oversized tyres. After a couple of unsuccessful attempts, I finally came up with something that I thought was acceptable. The gold and black decoration was done using self-adhesive vinyl, which I cut with a compass with a blade in it. This was not easy either and took several goes to get it right. I think that the overall look is quite good but what do you think?
The model that I am currently making (a 1947 Brayshaw) also has pneumatics, which I had already decided I would have to make from scratch in two-part resin. I had actually made a start on the wooden pattern when I spotted some nice wheels that Greg Pryce had on one of his models at the Brighton model show and he gave me the details of where to get them. A quick phone call and I was in business. They were very nicely made wheels by Wedico although I had to do some work on the wheels to match the ones on the Brayshaw. I found that by turning the wheels so that the outside was on the inside ( if you know what I mean) there was a deep recess that gave me room to make an insert with the correct pattern of alternating round and oval holes. I made a set of four of these from Plastikard and glued them in place and painted them Cream. This just left the hubcaps, which I had made from solid silver. I turned up a wooden pattern the right shape and size and got Victor Pain from “Simply Silver” to make them for me and they set the wheels of nicely.
Wooden wheels
The method that I use for making wooden wheels is the one described in John Thompson’s book on building Gipsy Caravans. I read the article several times before I decided how I was going to make mine. This book is well worth reading if you are thinking of making horse drawn models. I’m not sure if it is still available but it is worth trying your local library.
The main difference between my method and John Thompson’s is the way that I make the rims. I use MDF board, which I dislike for most things but is ideal for the way I do it. I have a homemade overhead router, which I can move up or down, backwards or forwards and sideways. I have several different bases, including an engineers turntable that I use for the rims. I set up the turntable to find the centre and then attach two layers of MDF board, which I screw to the baseboard, which is already attached to the turntable. I then move the router from the centre position to the inside diameter of the rim and rotate the turntable and lower the router until it has cut through both layers. I remove the centre of the MDF and then move the router to the outer diameter and repeat the procedure. I now have a pair of identical rims. I finish them by hand, then prime, undercoat and apply the topcoat of paint (including any decoration) prior to assembly.
The hubs are made on a lathe using wood roughly cut to size and drilled prior to turning. Metal tubing is Super Glued in the hole leaving enough extra to be held in the chuck of the lathe. Insert a metal rod (correct diameter) into the tube to stop it collapsing when the chuck is tightened.
I have another homemade gadget that I use for drilling the hubs (see photo). This is mounted on the base plate and can be set for the angle of drilling as well as giving the correct spacing for ten, twelve or fourteen spokes. The diameter of the holes is the same as normal Cocktail Sticks, which I glue in the holes, leaving about 6mm showing. I have not found an easy way of making the spokes so they are made individually but they are all cut to the same size and length to start with. The wider (hub) ends are all drilled so that they can be glued onto the cocktail sticks after being shaped and painted. The hub with the spokes glued in position can be mounted on a rotating jig and gently sanded to the correct length so that it fits snugly into the rim. I simply do this by trial and error. I pin the spokes in place through the rim and cover the pins with the rubber or metal tyres. The surplus piece of tubing can now be cut flush to the rear of the hub.
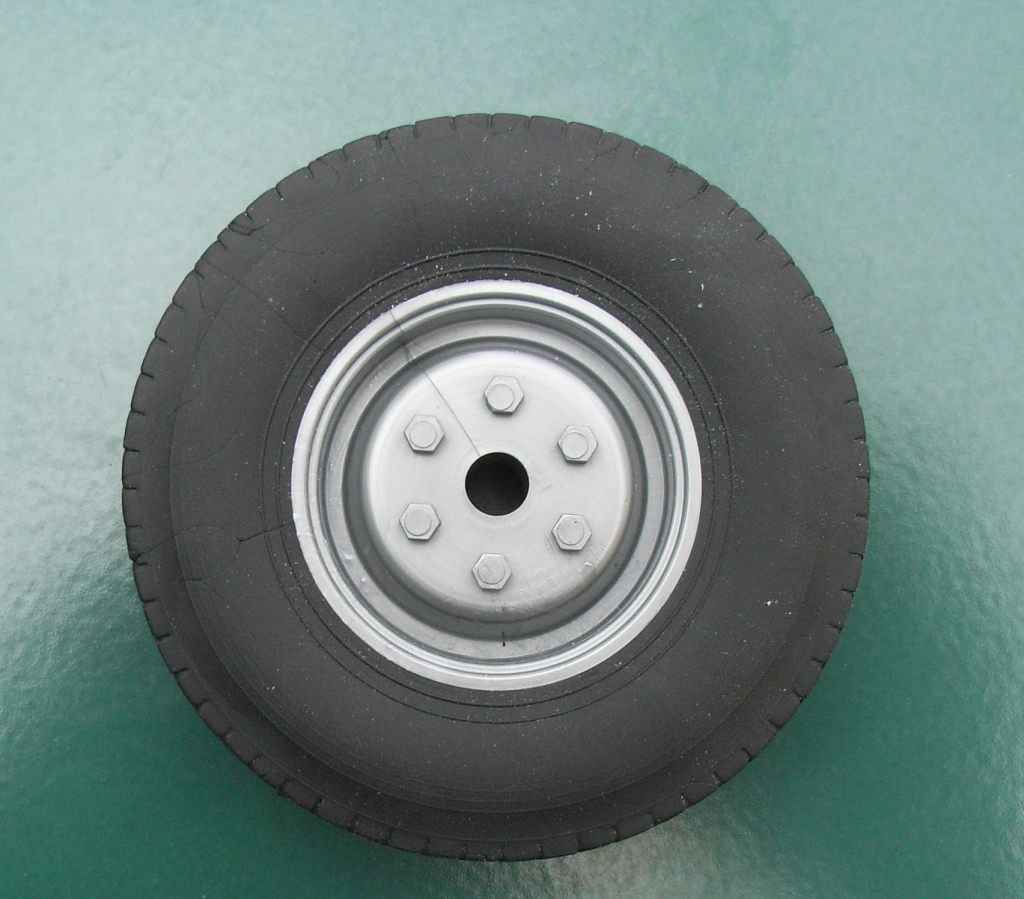
 Wheel from Tube Shooter showing rim, hub etc.
 Decorated wheel from Tube Shooter.
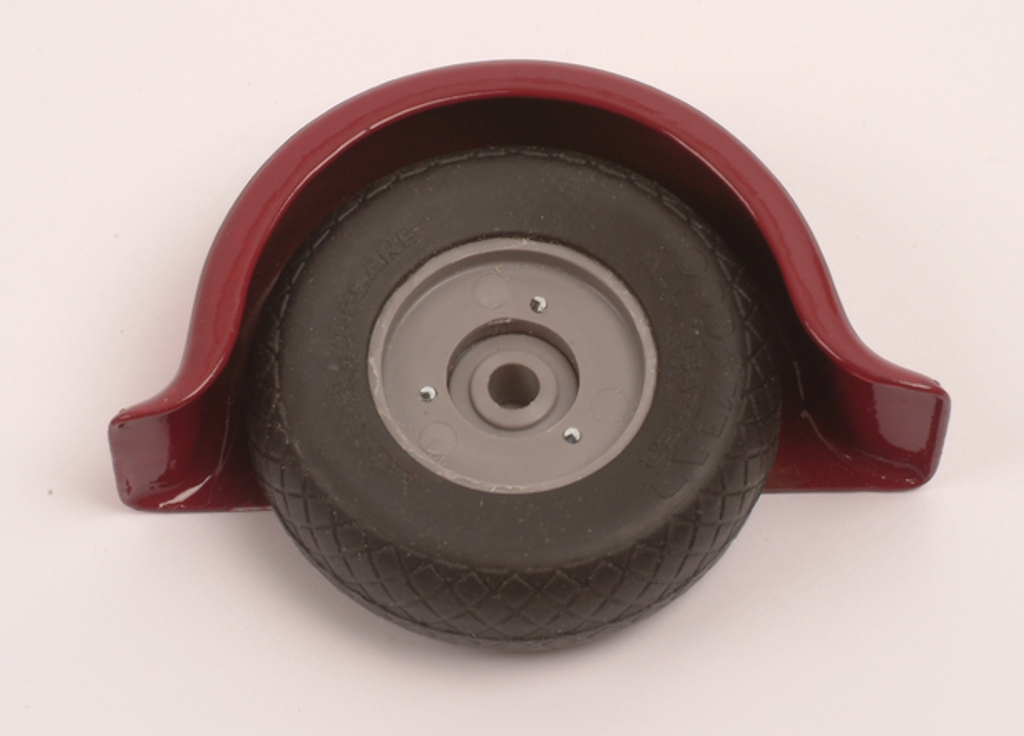
 Wheel for Brayshaw as purchased.
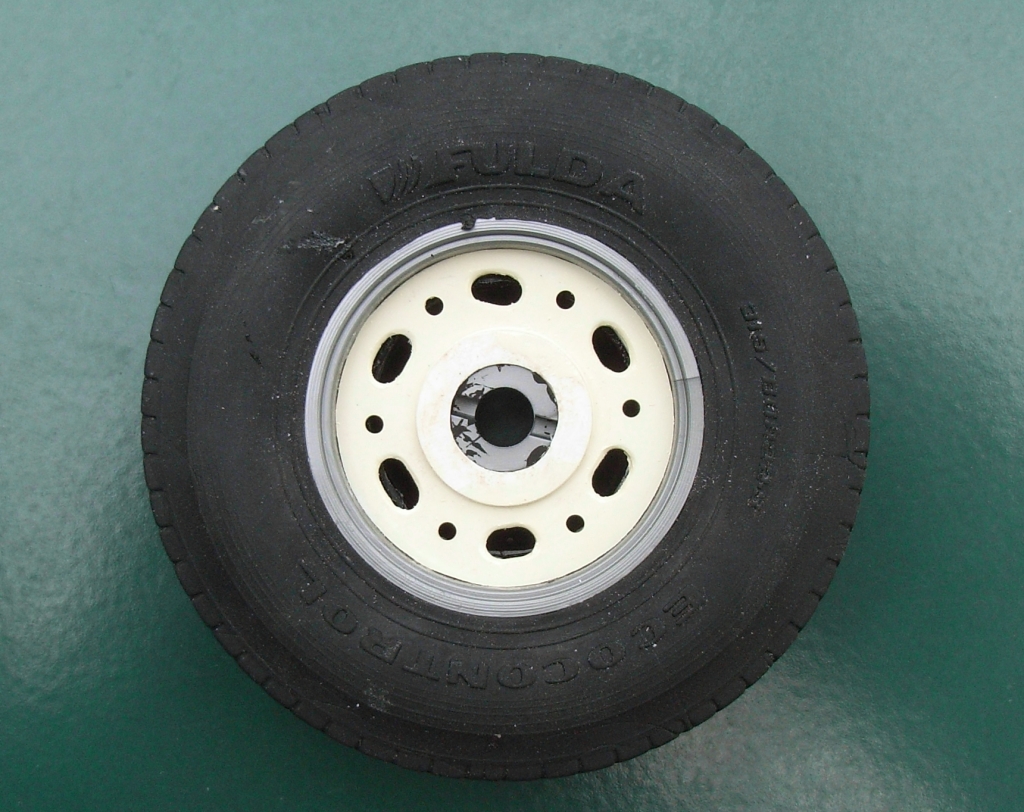 Wheel for Brayshaw with Plastikard insert.
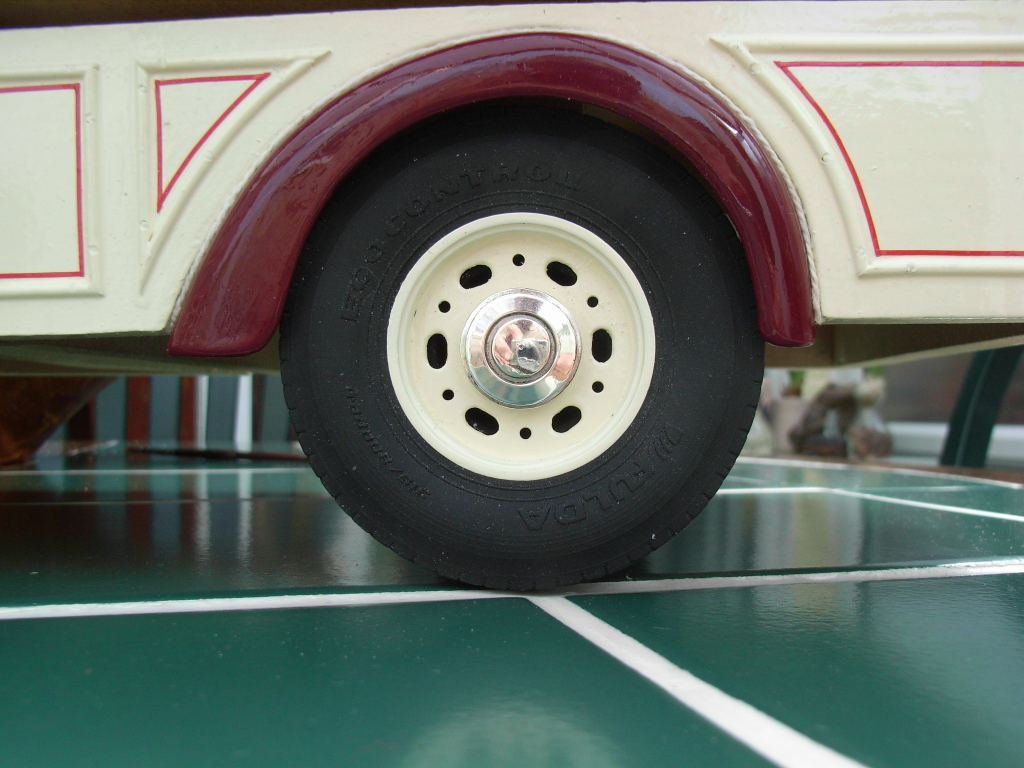 Completed wheel for Brayshaw.