ROOF/CEILINGS
After my first model, I needed to find a way of building a roof that was rigid enough to be removed for display but without a load of unsightly supports that do not exist on a real wagon.
Using wood is very difficult without the addition of formers because a 1/12th scale roof is very thin so I started to experiment using sheet aluminium. I used some from a local scrap yard, about 2mm thick. I made a plywood template for the correct curve of the roof and (for a small donation to their tea club) I asked a metal fabrication shop to put the curves into two pieces of metal for me.
I cut them both to the right size and removed a rectangular section from the centre of the larger of the two pieces with a hand jigsaw.
Depending on the type of ceiling, I then either apply veneer using an impact adhesive or 0.4mm ply if it is to be a painted ceiling. Any wooden carvings, panels etc. can be added using a wood working glue, for other materials I use epoxy resin. I paint panels individually on 0.4mm ply and stick them one at a time on to the ceiling, rather than paint the ceiling in situ. This is so much easier if I muck up the paintings.
If the exterior roof should be covered in canvas, I use very fine white cotton material and stick it to the aluminium using a clear satin varnish. I rough up the aluminium slightly, then give it a generous coat of varnish, lay the cotton on and smooth it out with a brush using more varnish over the material. When it is completely dry, I trim off the surplus cotton with a scalpel. A coat of white satin paint gives the right finish. I shape the ends of the Mollycroft from solid Jelutong and paint them to match.
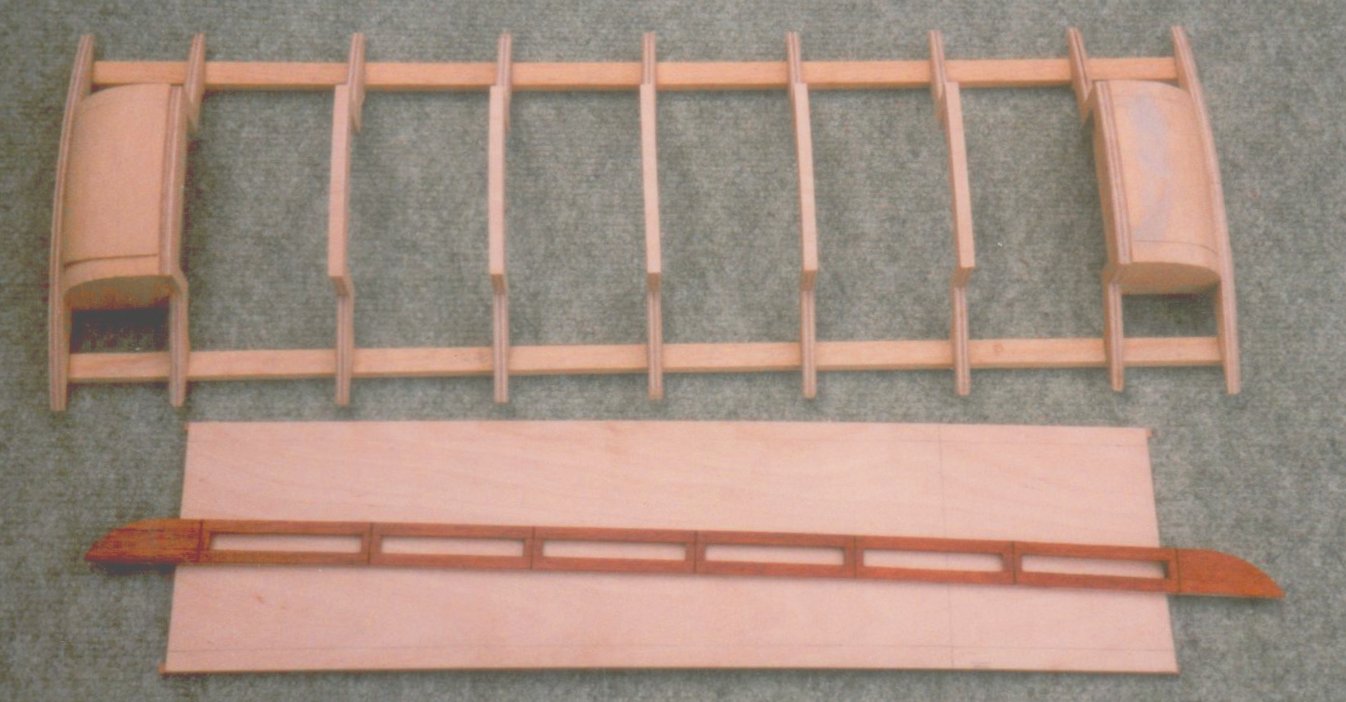 First attempt at a wooden roof