1947 27ft Brayshaw Road Wagon
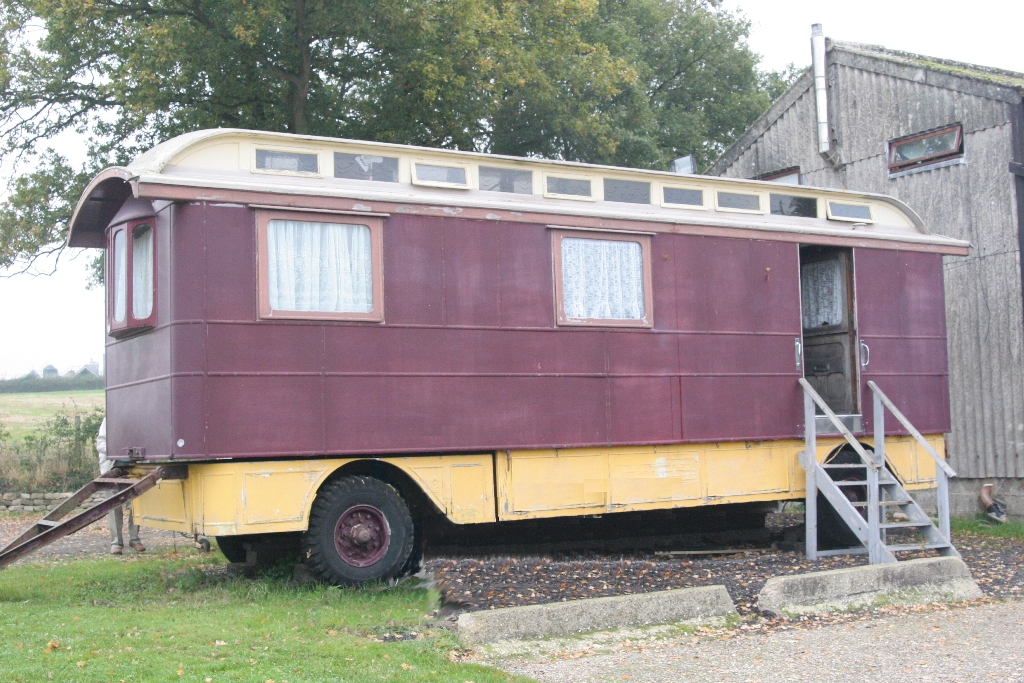 Progress to date on this model has been slow. Why should I be surprised? it happens every time so I should expect it.
I decided to sort the wheels out first and decided that I would have to make a pattern and cast them out of resin. I was part way through making the pattern when I went to the Model Engineering show at Brighton. One of the modellers that I know had some wheels on one of his models that looked suitable for mine. He gave me a phone number and within 24hours I had a nice set of wheels. They required a bit of modification, which I will cover in the Techniques section, but I think they look fine.
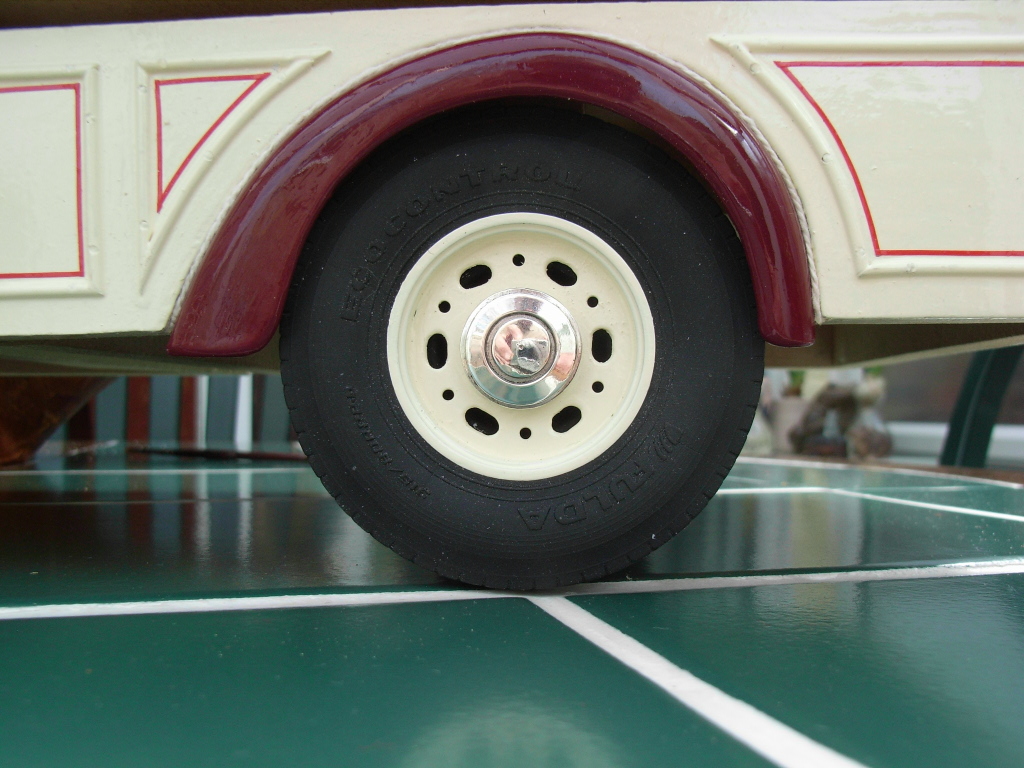
I turned up a pattern of one of the hubcaps, which I sent to Victor Pain of Simply Silver, and he made me a handsome set from solid silver.
I made the mudguards from two-part resin having first made a pair of wooden moulds in which I cast the resin.
I used 0 gauge rail to make the tow bar and it looks very much like the real thing.
The floor is made from 15mm MDF. The walls are 4mm ply with mahogany veneer on the inside. The corners are rounded on the inside as well as the outside so I have made these from solid mahogany. I shaped the inside using a router but the outside I did by eye on my bench sander.
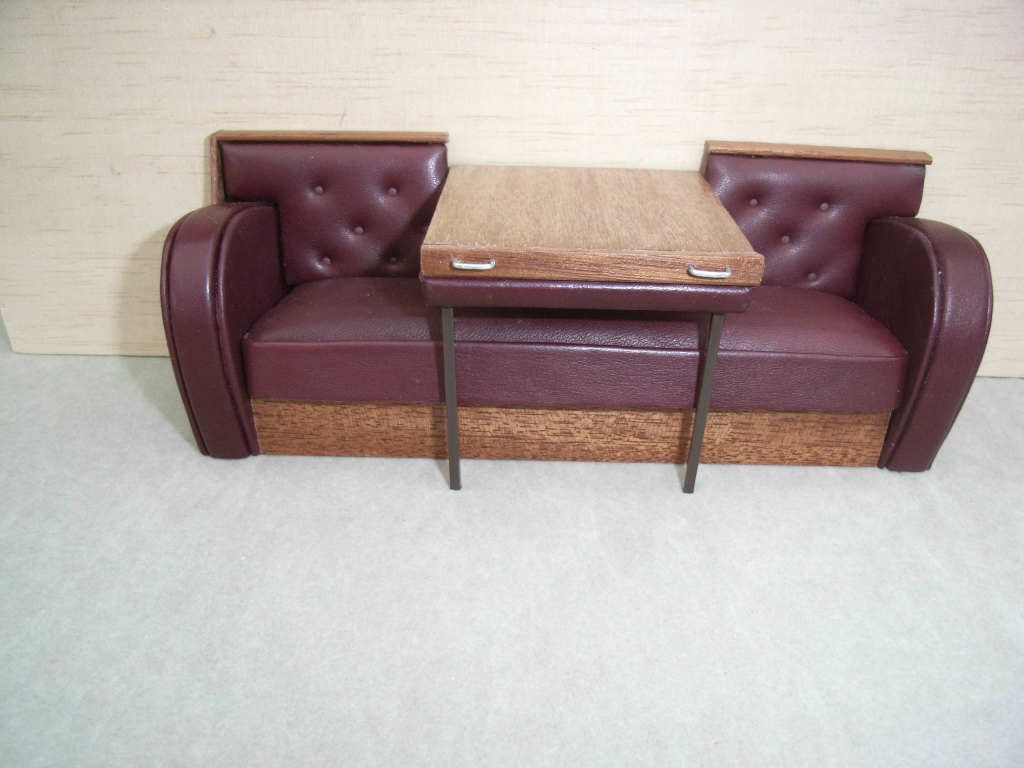
One item that looked difficult was the settee, so I decided to make this first and get it over with. The real one was made from a very dark brown velvet material, which I did not like neither did the owner, so between us we decided that I would use Burgundy coloured leather. The style of the settee would not be changed.
The problem area was the folding table that was concealed down the back of the settee but formed an integral part when not in use. It was the small amount of space where the table was stored that was the main difficulty. The table consisted of a mahogany top and a pair of folding legs to support the front. The back fitted in a slot at the back of the settee. The whole table fitted into a space just 3 inches deep. The legs were only 1 inch square hard wood and were hinged so that they could fold.
Converted to 1/12th scale, this gave me a space of ¼ inch (6mm) to get this working table into.
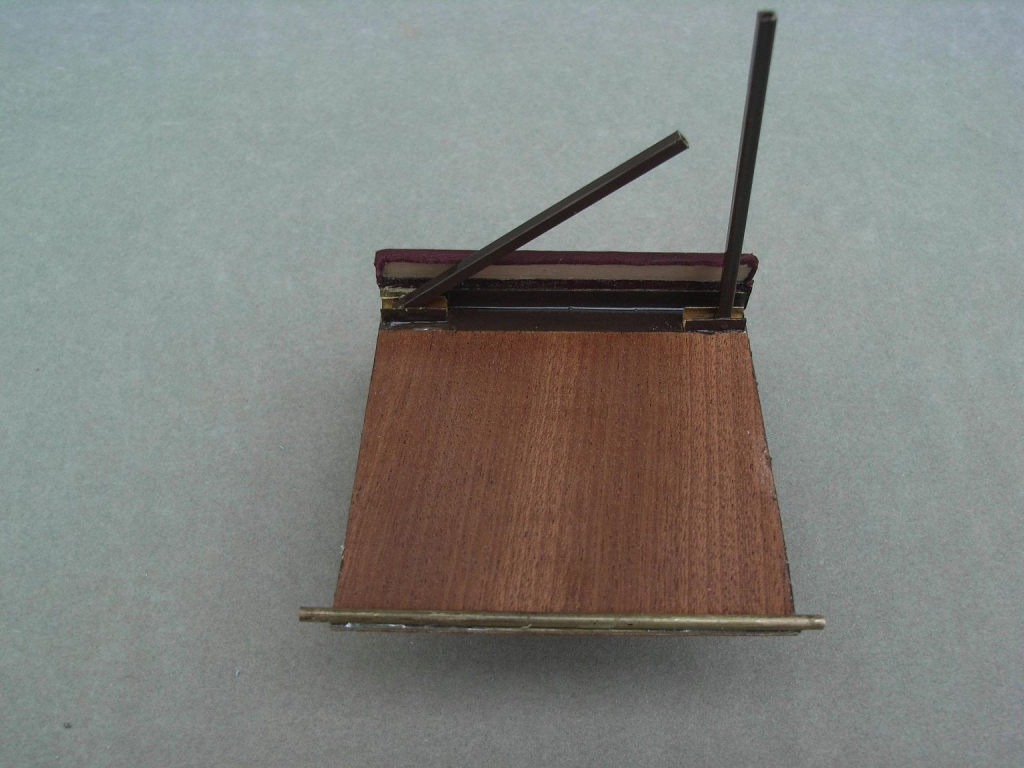
There was no way that I could build this to scale out of wood and make it strong enough to work like the original, so I started to think of other ways that would look OK but still work. In the end I decided to make the structure out of brass and try to make it look like wood. The top was made from thin brass sheet and the legs from 2mm square brass tube. I used U shaped brass instead of hinges which I cut into short lengths and soldered to the underside of the table top. The legs were placed in these and holes drilled through and pins soldered in place to enable the legs to fold. The table top was covered in mahogany veneer using an impact adhesive.
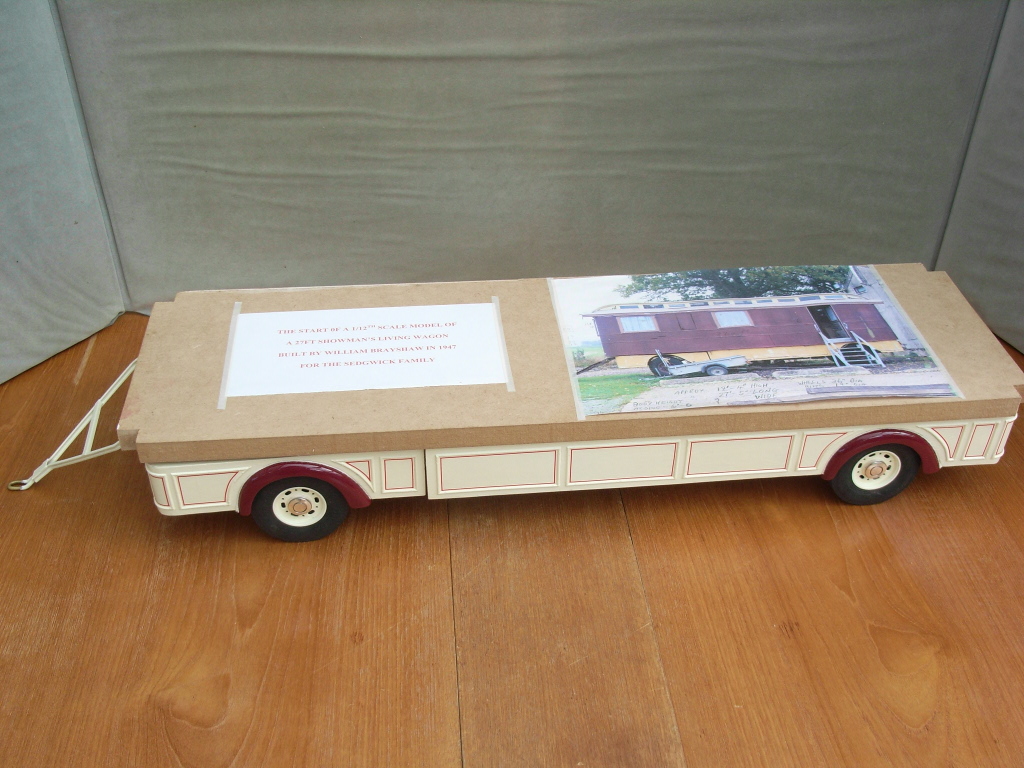 Stage 1: Chassis floor and wheels completed.
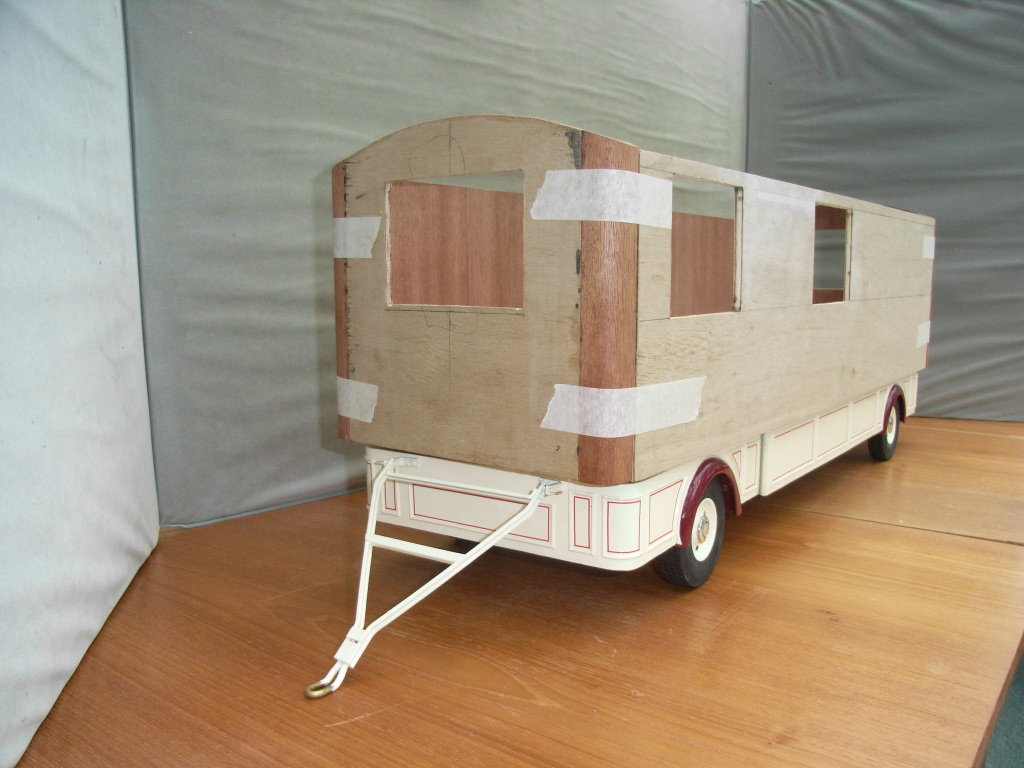 Stage 2: Walls temporarily taped in place to check fit.
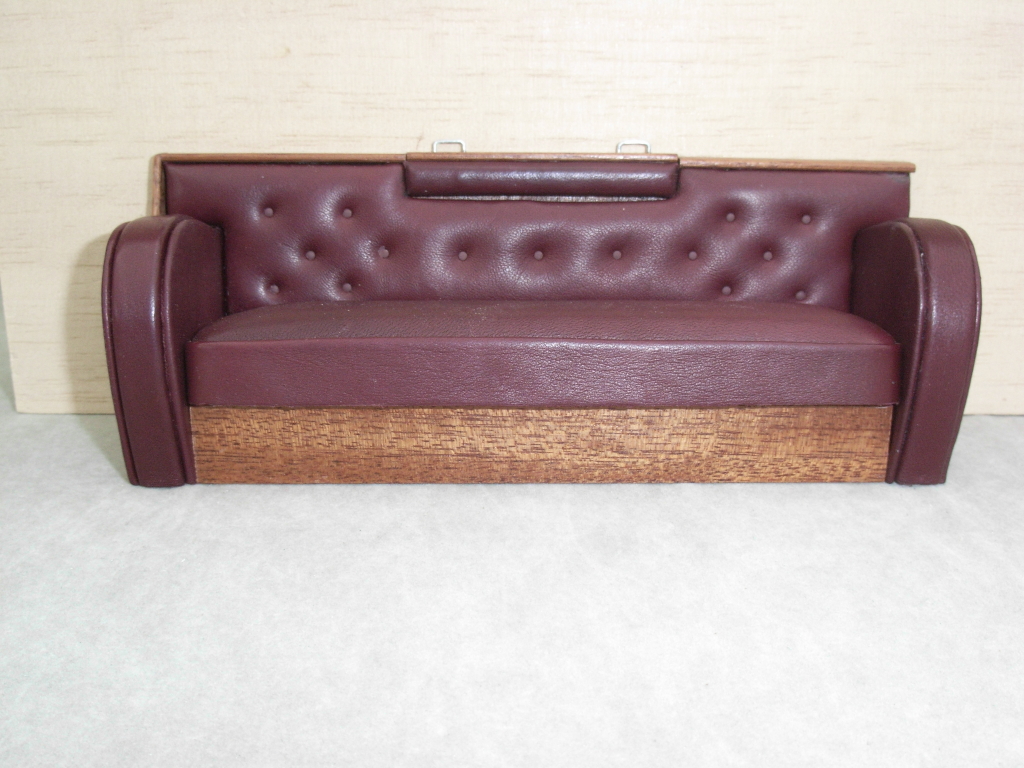 Settee with the table in the stored position.
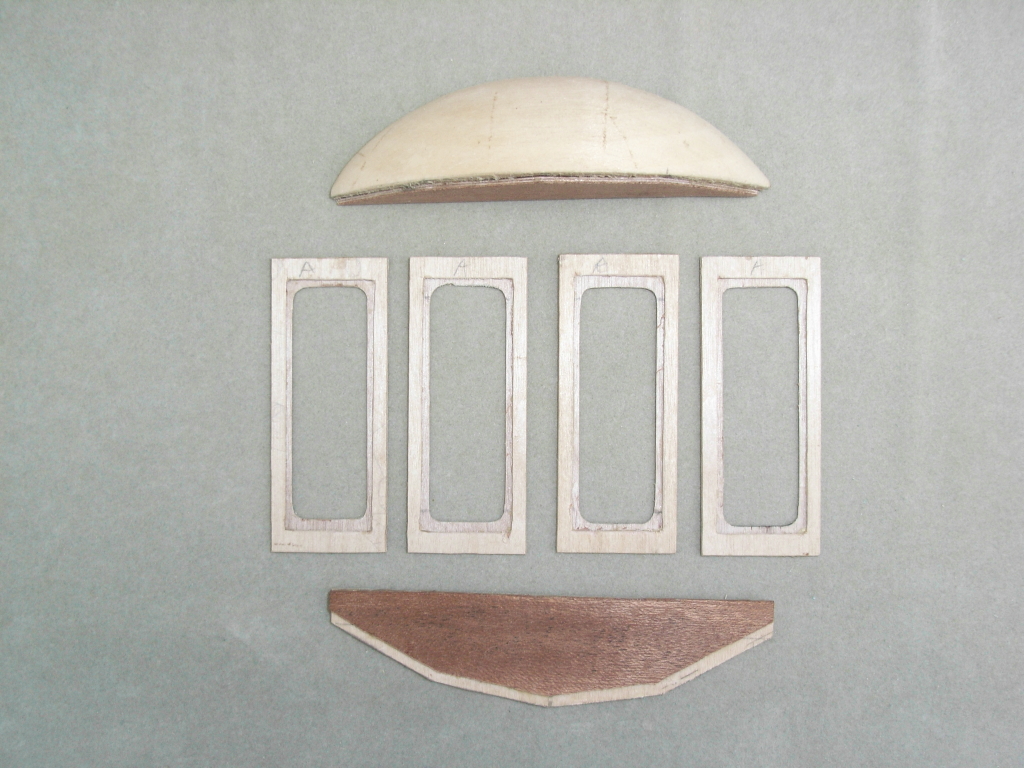 Components that make up the bay window.
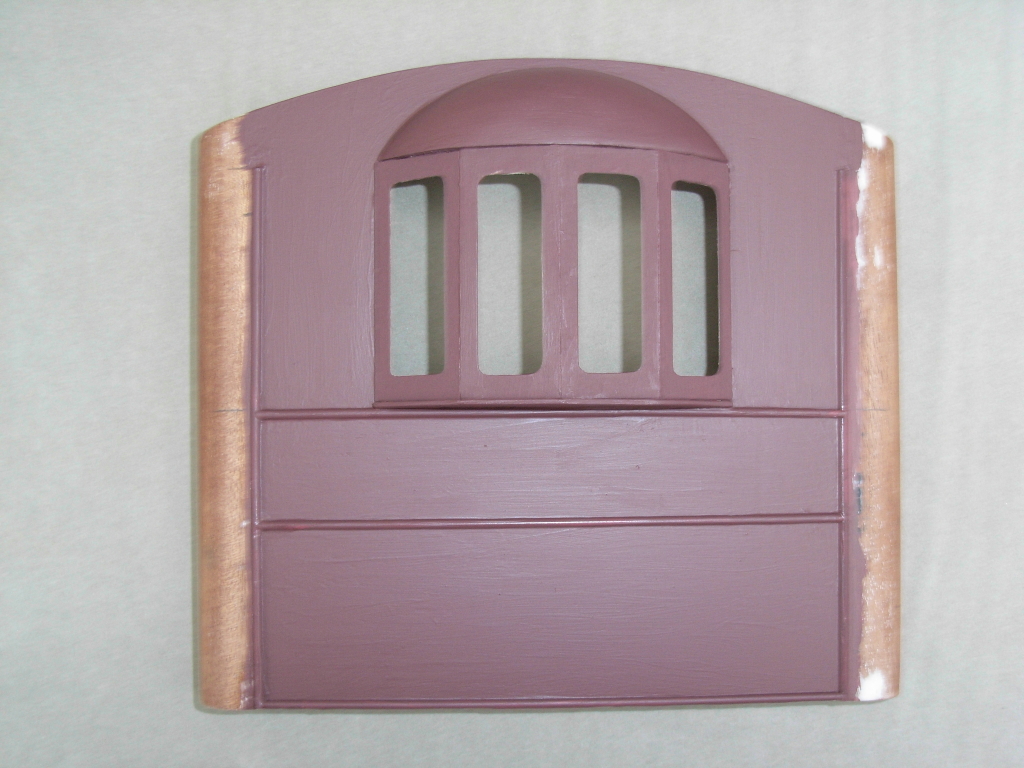 Fully assembled bay window with first coat of paint.
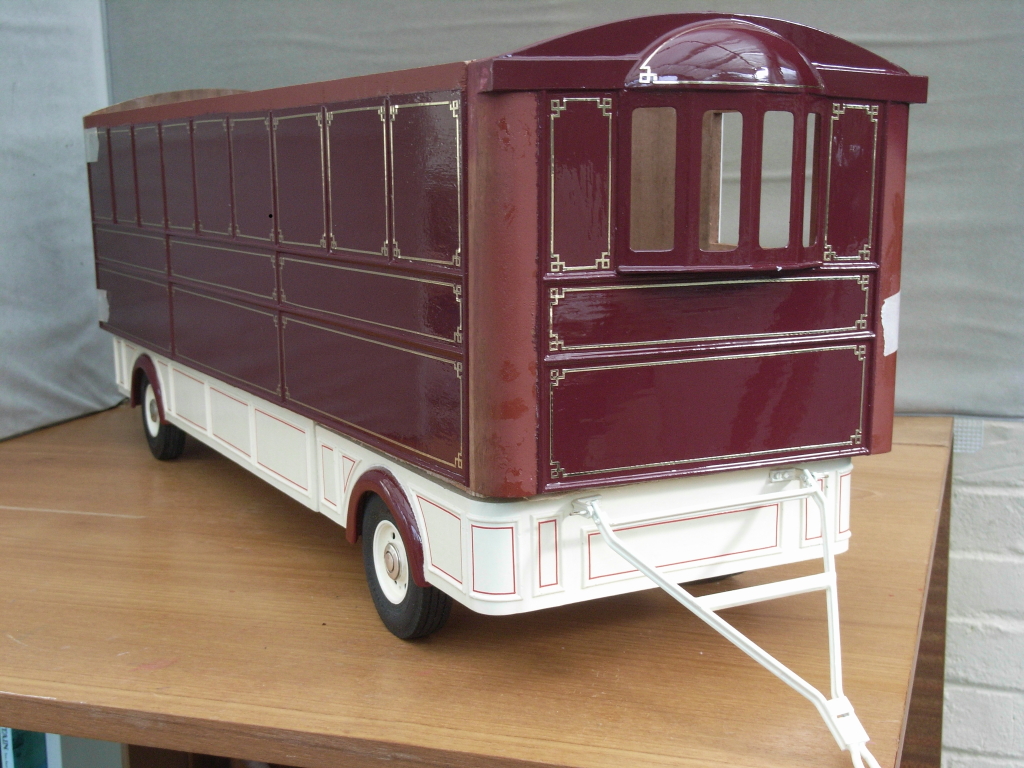 Fully decorated window in place.