FLOORS
Generally speaking, the floors are simply made from floorboards and covered in lino.
When building the model, there are options of making your own planks, buying 1/12th scale sheets of paper with the floors printed on them or not bother at all if the floor is going to be covered with lino or carpet.
I used the paper option on my first model but it is not good enough to fool anyone into thinking that it is real wood.
I went totally the other way with my second model making the whole floor from individually cut planks from 0.8mm ply and laying them at random to show the grain to its best effect, only to find that the whole floor should be covered in lino. What you might call a lack of forward planning. You can buy sheets of paper with lino patterns printed on them and with 2 or 3 coats of satin varnish, they look very good.
The Eccles wagon was a whole new ball game to me as it had a very nice parquet wood block floor. I took photos and measurements of the original and set to work.The floor consisted of a large panel measuring 10ft x 3ft made up of 30 smaller panels 1foot square. Each of these small panels comprises of 16 segments making a total of 480 individual pieces to make the complete floor. The bulk of the tiny segments are triangular in shape which means that the corners are very prone to breaking off when you are cutting the pieces to make them in 1/12th scale. The floor in the full size wagon is made of medium coloured Oak but I decided to make mine of 1/32inch Birch ply and stain it.
Cutting the small pieces turned out to be more difficult than I had expected, even using a brand new scalpel blade, most of the corners broke off from the triangular pieces. More in desperation than hope, I tried a dress makers cutting wheel and whilst I had to press fairly hard it made a nice clean cut with corners intact 90% of the time so I was able to start building the floor, or so I hoped. After a few more scrapped experiments I finally decided to accurately mark out the complete panel of 30 one inch squares on a single piece of 1/32nd inch ply and glue the segments straight onto it. This way I could check as I went that the overall size was correct. You can see from the photo that each square is framed by 4 small pieces of rectangular wood, so I did all of them first leaving the centres to be filled with 12 small triangular pieces in each square. It was a bit like a jigsaw puzzle trying to find bits with the grain running in the right direction. If a bit was too small, I would discard it and if it was too big, I would shave a slither off until it fitted. The end result was well worth the effort in my opinion. You can solve any problem if you have a big enough waste bin!
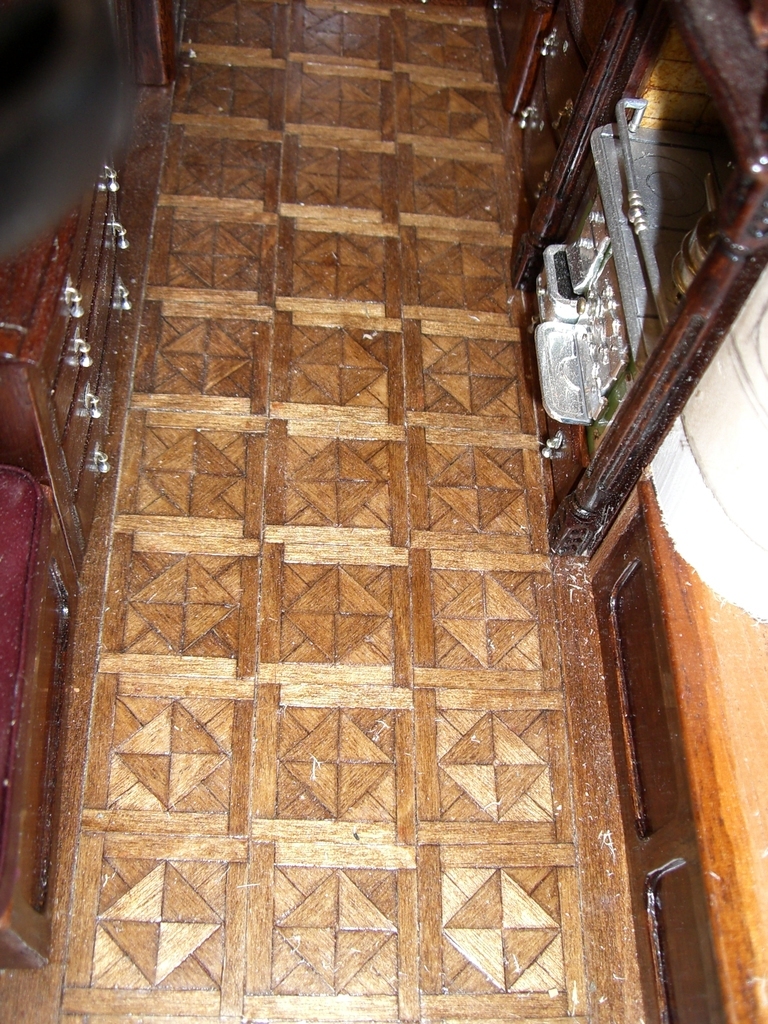 Close up of Eccles model floor - a miniature jigsaw puzzle!
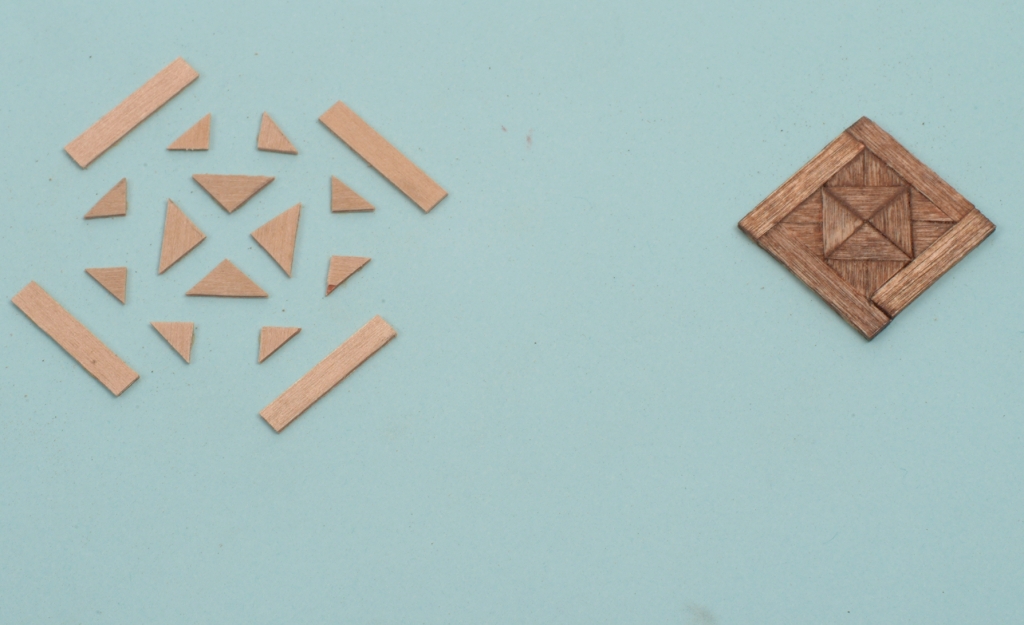 Component parts for the floor of the Eccles.